METERBOT

The all-new Phatronics Analog VU Meterbot is excellent! They are made one at a time by hand in the USA. All point-to-point wiring. Many DAWs have a built-in analog style meter, or you can buy a plugin, but these take up real estate on your screen, and they are not always accurate depending on how hard the CPU is working. Having an accurate analog VU meter that you can look at any time to see an accurate representation of your audio is essential.
FEATURES
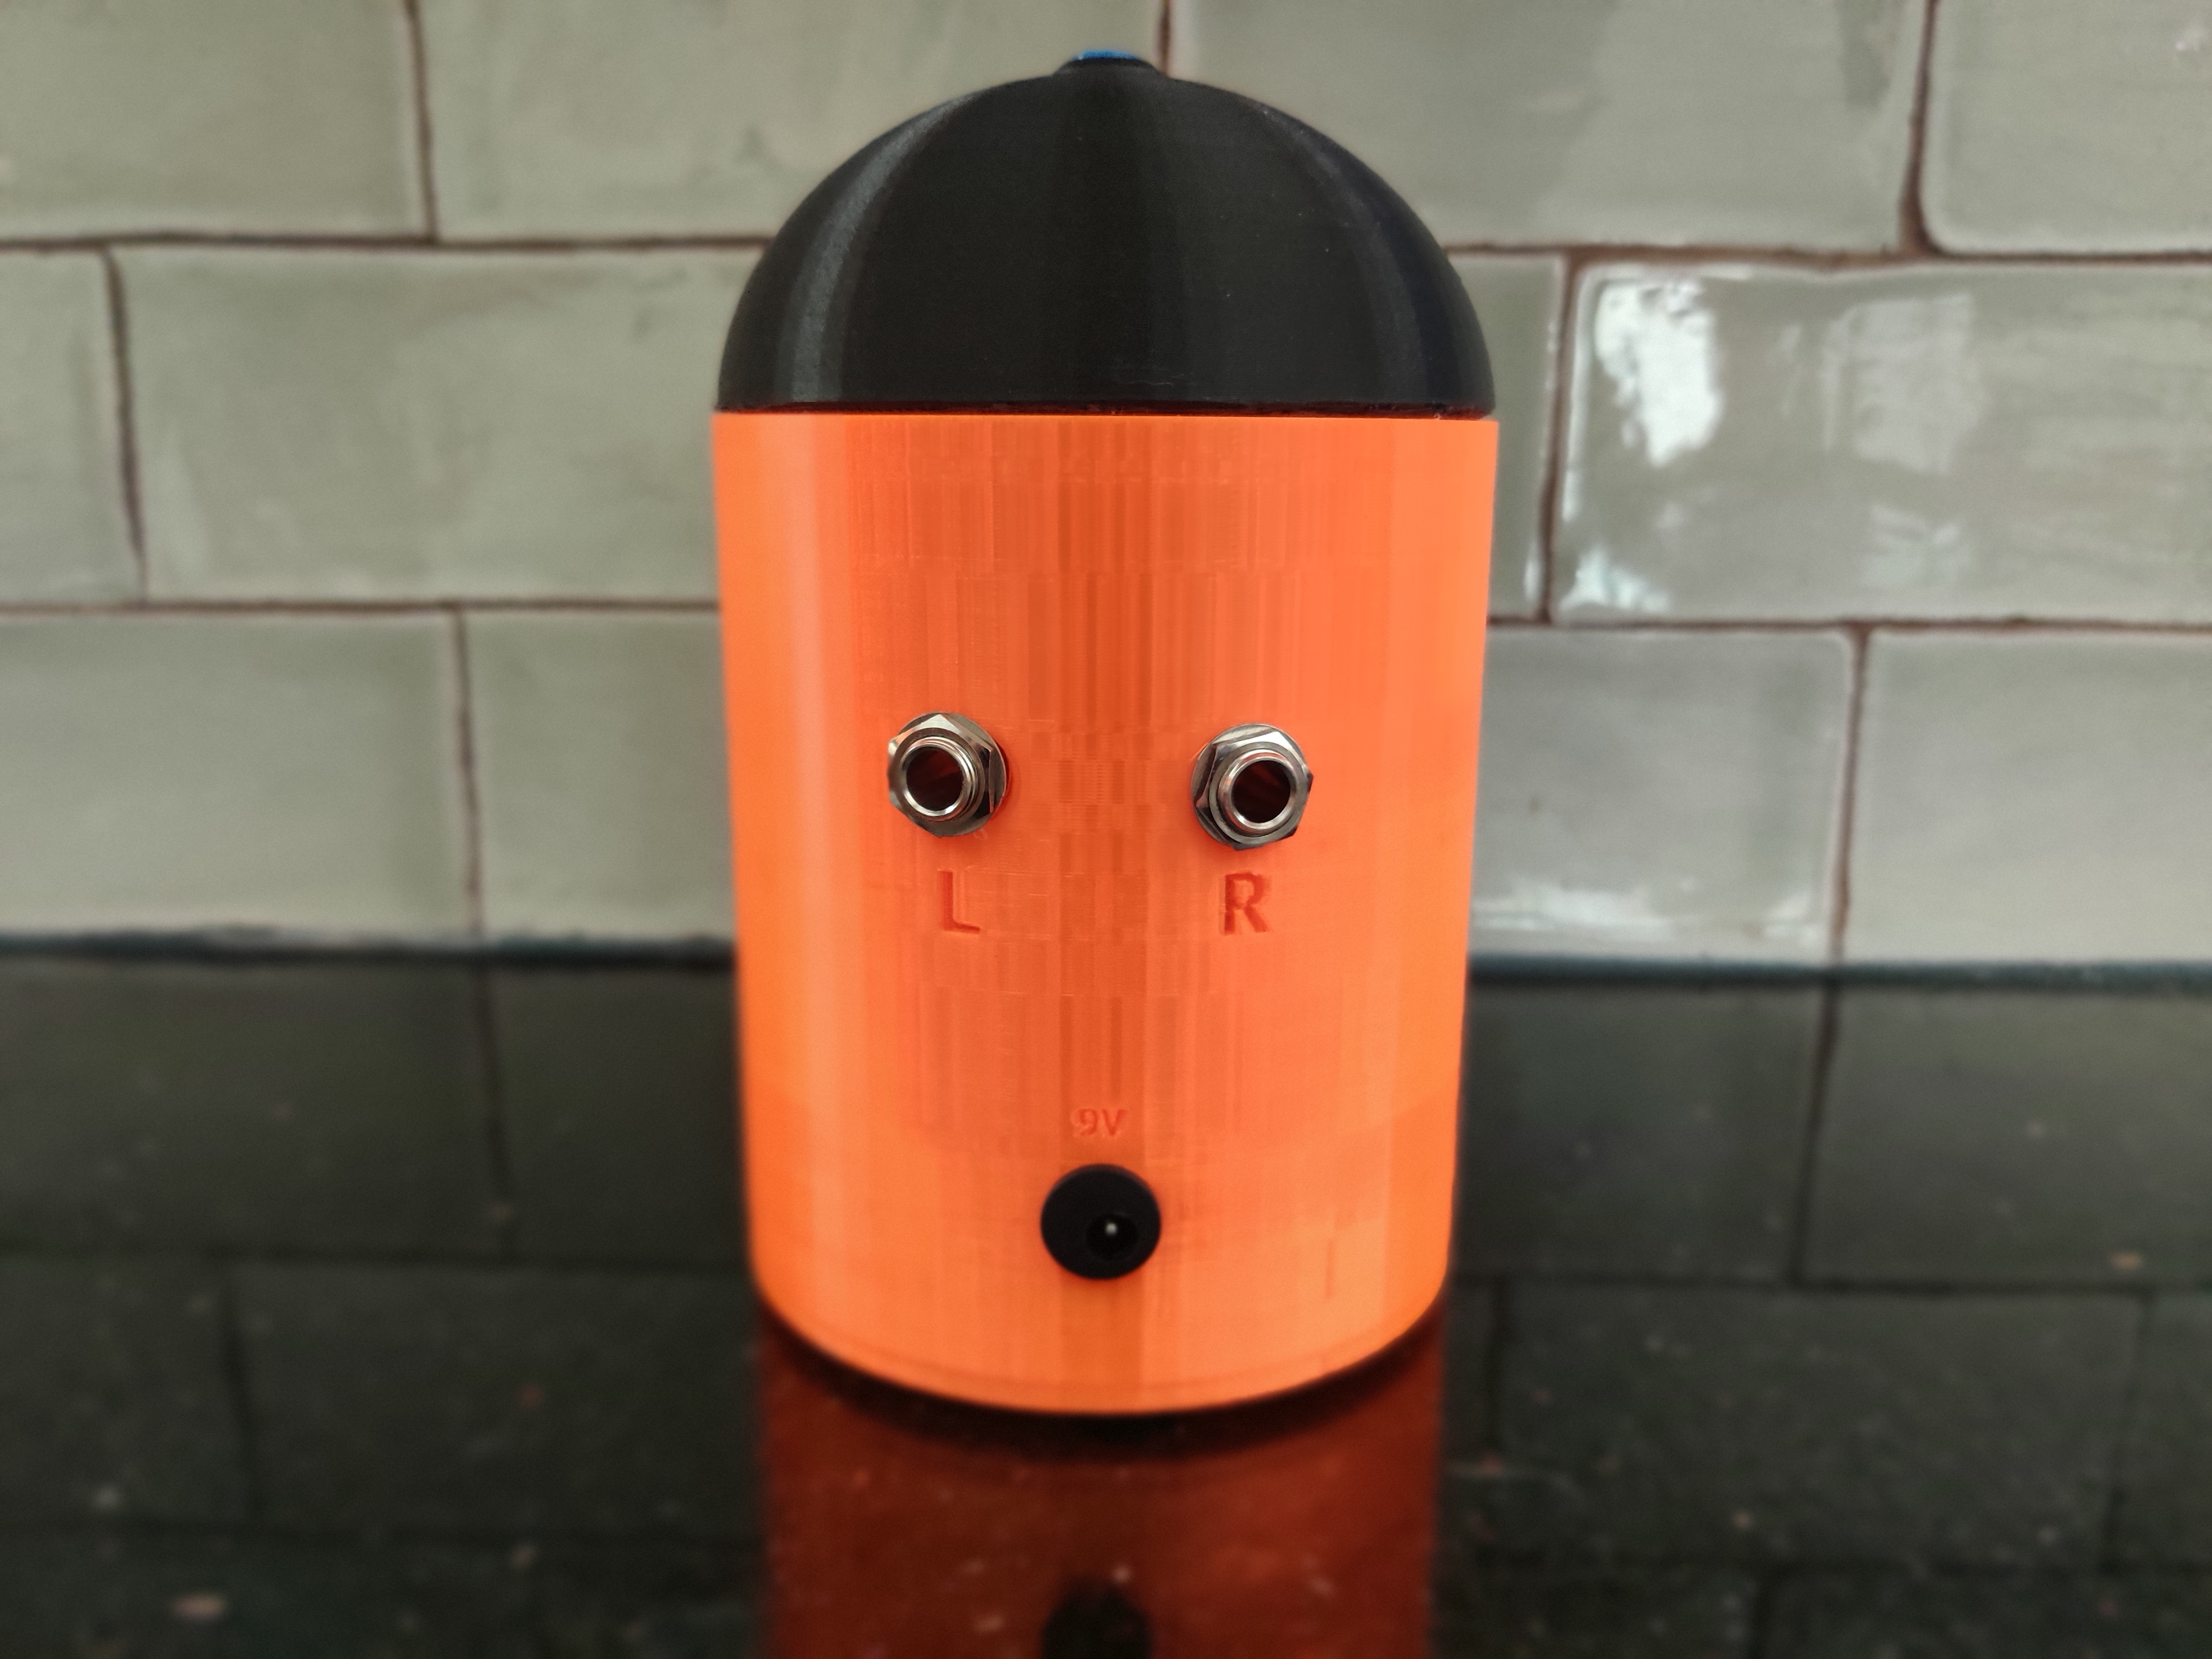
• Two analog VU meters representing left and right stereo with LED backlights.
• 1/4 TRS inputs on the back panel.
• External 9V heavy-duty power supply
• Built-in Spectrum analyzer to give you a representation of frequencies. (From Left Input)
• Fully custom 3D printed case.
• Ability to adjust and calibrate the unit for your specific setup.
INSTALLATION
Take two channels out of your interface and plug them into the left and right inputs of the Analog VU. Make sure they are line outputs and not powered outputs or you will damage the unit. Optionally, you can also use the Analog VU’s built-in outputs to go back into your interface/DAW. It is a direct connection, and there is no signal loss.
CALIBRATION
We test and calibrate each unit, so it should work perfectly out of the box. However, for some reason, if your system is set up differently, you can easily calibrate the unit by sending it test tones (we use 1k) and adjusting the two small pots on the circuit board, which is located inside at the bottom of the unit. You can adjust them with a small phillips screwdriver.
If you look at the VU (Volume Unit) meters found on a lot of analog recording gear, you’ll see that the scale ranges from -20VU to +3VU (some go higher). VU meters present the “average” level. For various reasons, the norm was to aim for an average recording level of 0VU, which is professional equipment equated to a signal level of +4dBu. For a quick refresher on the concept of dBs, see “On Tracks: What Is a Decibel?” Given that analog gear clipped at roughly +24dBu, that resulted in about 20dB of headroom beyond 0VU.
In other words, although the optimal average level was 0VU, transient peaks, which aren’t effectively indicated on VU meters, could climb as high as +10VU without causing problems.
DIGITAL RECORDING
Digital recording is an entirely different matter.
If you record with a DAW, you are used to seeing digital meters on mixer channels, aux sends, master faders, etc. Also known as “sample peak program meters,” they display peak levels in dBFS or Digital Full Scale — and 0dBFS is the absolute upper limit of digital audio levels. Consequently, all of the scale degrees are minus values, such as -3 and -6. The only thing above 0 is a clip indicator—peaks exceeding 0dBFS, at least at the output, resulting in exceedingly unmusical distortion.
Obviously, 0VU and 0dBFS are far from equivalent.
Setting Recording Levels to Create Headroom
In order to provide the same 20dB of headroom you get when recording at an average level of 0VU, it will be necessary to record at an average level of -20dBFS. That’s why the breakpoint between the dark green and lighter green colors on our example digital meter is at -20. The break provides a handy visual reference. And in the same way that transient peaks could safely climb to about +10VU without incident, if your digital peak meters register peaks at about -10dBFS you’ll be fine, with a bit of additional headroom to spare just in case.
Note that some engineers prefer an average level of -18dBFS when recording and mixing. The scale degrees on most digital meters make it easy enough to eyeball the difference between -18dBFS and -20dBFS, but should you wish to adopt that standard it should be easy enough to adjust the breakpoint between colors to reflect that. In Pro Tools 11, for example, you go to Preferences>Metering and change the Color Break Low parameter to -18.